
Steps to Add All Wells Within the Project Boundary
Locate the Project you want to work with and open the Project Folder.
Navigate to the 'Map' tab.
The green rectangle on the Map represents the current Project Boundary.
If you need to adjust the boundary manually:
Click the 'Draw New Project Boundary' button.
Draw a new rectangular boundary directly on the Map.

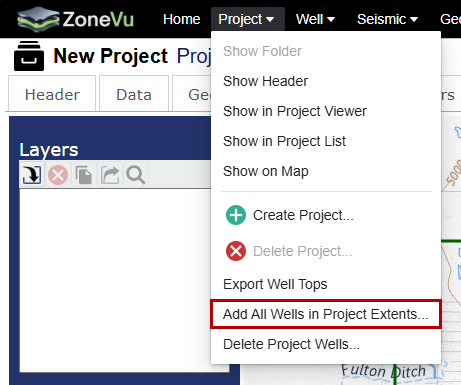
Open the Project menu dropdown.
Select 'Add All Wells in Project Extents…'.
ZoneVu will then:
Search for all Wells in your account whose Surface Hole Locations fall within the Project Boundary.
Automatically add any Wells that are not already included in the Project.
Note: Only Wells with Surface Hole Locations inside the boundary are considered. Directional trajectories that extend into the boundary are not included unless the Surface Hole is also inside the boundary.
Note: Adding Wells to a Project does not modify or alter the underlying Well data—it simply associates those Wells with the selected Project.