
While in the Viewer, click the "Scene Snapshot" button to open the Scene Snapshots pop-up.
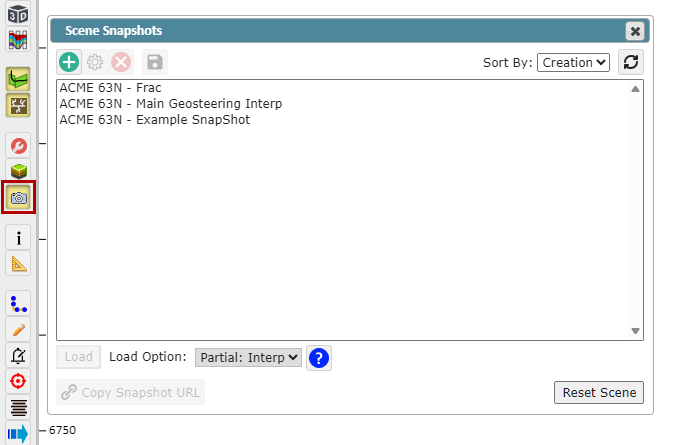
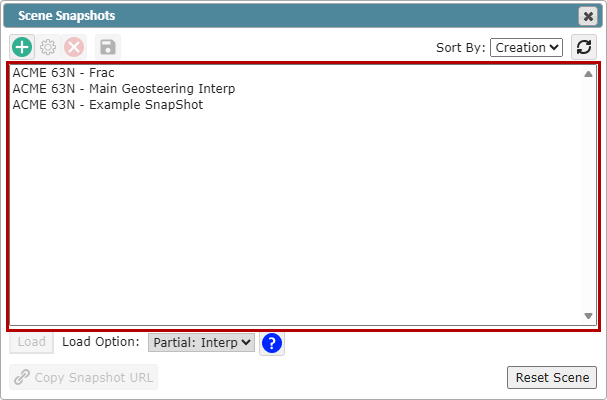
The upper window of the Scene Snapshots pop-up lists all available Snapshots, select the Snapshot you wish to load, then click the "Load" button to apply this Snapshot
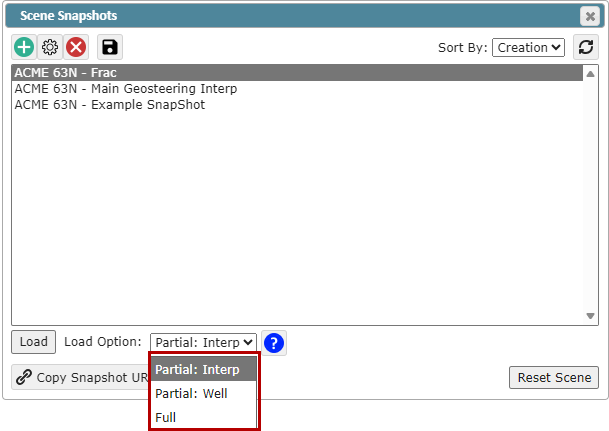
"Load Options" dropdown: This allows you to choose the extent of the Snapshot display settings you wish to load
"Partial: Interp" (Default): Loads display settings for the active well and the displayed interpretation, while preserving other wells and interpretations in your view
"Partial: Well": Loads all display settings for the active well while preserving your other well settings and display configurations
"Full": This option will load the entire dataset in the Snapshot save file for every Well in the Project.
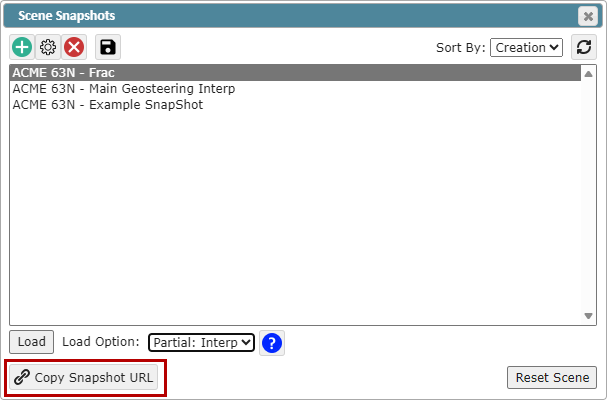
To share a Snapshot click the "Copy Snapshot URL" button to copy the Snapshot URL to your computer's clipboard. If you share this URL with anyone with an active ZoneVu login and access to the project, they will be brought to the project to see the exact display that was saved with the Snapshot.
Note: The Snapshot URL will default to the Load Option you have selected when you create the URL.
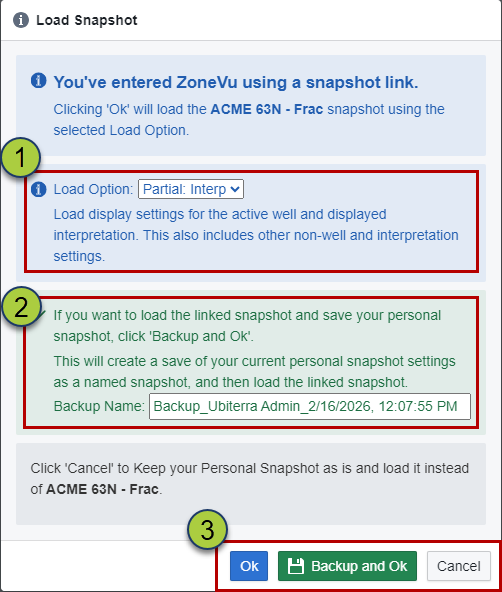
When a user clicks on the URL, they will be presented with a Snapshot Load dialog, allowing them:
Choose their Load Option: Partial: Interp, Partial: Well, or Full
Name a Backup Snapshot
This allows you to preserve your current display settings to revert back to
Choose if they want to load the shared Snapshot, load the shared Snapshot and create a backup of their current display settings, or cancel loading the shared Snapshot
To create a new Snapshot file, click the "Create" button, name the Snapshot, and click "OK". This will save your current display settings in the new Snapshot file.

Control Buttons:
"Create" button: Creates a new Scene Snapshot file
"Update/Save" button: Overwrites the selected Snapshot
"Delete" button: Permanently deletes the selected Snapshot
"Save" button: Updates the selected Snapshot file with your current display settings
Refresh the list and sort the list by: Creation, Name, & Date
"Reset Scene" button: Resets your display settings to the empty default
